If you want to install LED strip lights on the ceiling, here are a few tips: Choose longer lengths, make sure they are working, and solder the wires. Once you have all of the components, you can mount or hide them in your ceiling. If you’re unsure about any of these steps, just follow the directions above. Once you’ve completed these steps, your LED strip lights should be installed and ready to use.
Longer lengths
LED strip lights come with adhesive backing on their sides, and the adhesive must be removed before you mount the light strips to the ceiling. After you have removed the adhesive cover, you should cut the LED strips to the length needed to illuminate the desired area. Then, use aluminum channels to mount the strips to the ceiling, using a plastic diffuser to improve the overall effect. To install longer lengths of LED strips, use a wall glue or exterior double-sided tape.
For smooth ceilings and high-temperature areas, you should use HitLifhts heavy-duty tape. The adhesive double-bonds with the LED strips, and uses a screw to secure them to the ceiling. The recommended spacing is one foot apart for the LEDs. If you choose to use clips, you can buy cheap ones but be sure to double-check the dimensions.
After installing the lights, you can dim the lights with the included remote. If you plan on dimming, you can also wire your strips to a 110-volt dimmer switch. For best results, you should hire a certified electrician. These experts can be easily found using your connections from an electrician marketing firm which is readily available online. You can also check the wiring diagram of your LED strips to make sure it will fit the ceiling. Once you have followed all the above steps, you can proceed with the installation process.
Soldering
When installing LED strips on the ceiling, there are a few things you should keep in mind. First of all, make sure that you have the correct spacing. Some strips will have adhesive on the back, while others will have clips or mounting channels to connect the separate pieces. When laying the strip on the ceiling, it is best to leave at least a foot of space between each LED. Secondly, you should pay attention to the length of the strips and make sure they are all even.
Next, make sure you have the correct wiring for your LED strips. For instance, 24V LED strips will typically have 4 wires labeled with copper dots, whereas some are not. The red and black wires are for power, while the rest are for ground. After stripping off the loose end, strip both ends and connect them together with a wire. Make sure not to puncture the wire casing!
If the strips are not clean enough, they may not adhere well to the surface. Once you cut the strips, you can use mounting tools to hold them in place. Once you’ve done that, you can then solder them to the strip to attach them to other things. If you want to attach multiple LED strips to a single ceiling, you need to use separate power supplies for them. Make sure you have enough wires to run each strip to the desired power supply.
Mounting
LED strips come with an adhesive backing on the back. You can use this adhesive to mount the strip on a ceiling. If you have a smooth ceiling or a high temperature, the HitLifhts heavy-duty tape may be the better choice. The adhesive is designed to double-bond with the LED strip’s built-in adhesive. Installing the strips using a screw is also an option. The strips should be spaced approximately one foot apart. You can use inexpensive clips for extra security.
Before mounting the LED strips on the ceiling, you should drill a few holes in the ceiling in strategic places. Make sure to place hooks above the ceiling of the room where the strip will be located. Moreover, ensure that the holes are deep enough to allow for easy access to the back of the strip. Also, space the LED strips 40cm apart. If you are using a drop-down ceiling, you may use aluminum coving. The coving’s raised lip can be used to hide the LED strips. Using this method, you can conceal the black strip with dotted lights while maintaining the romantic vibe.
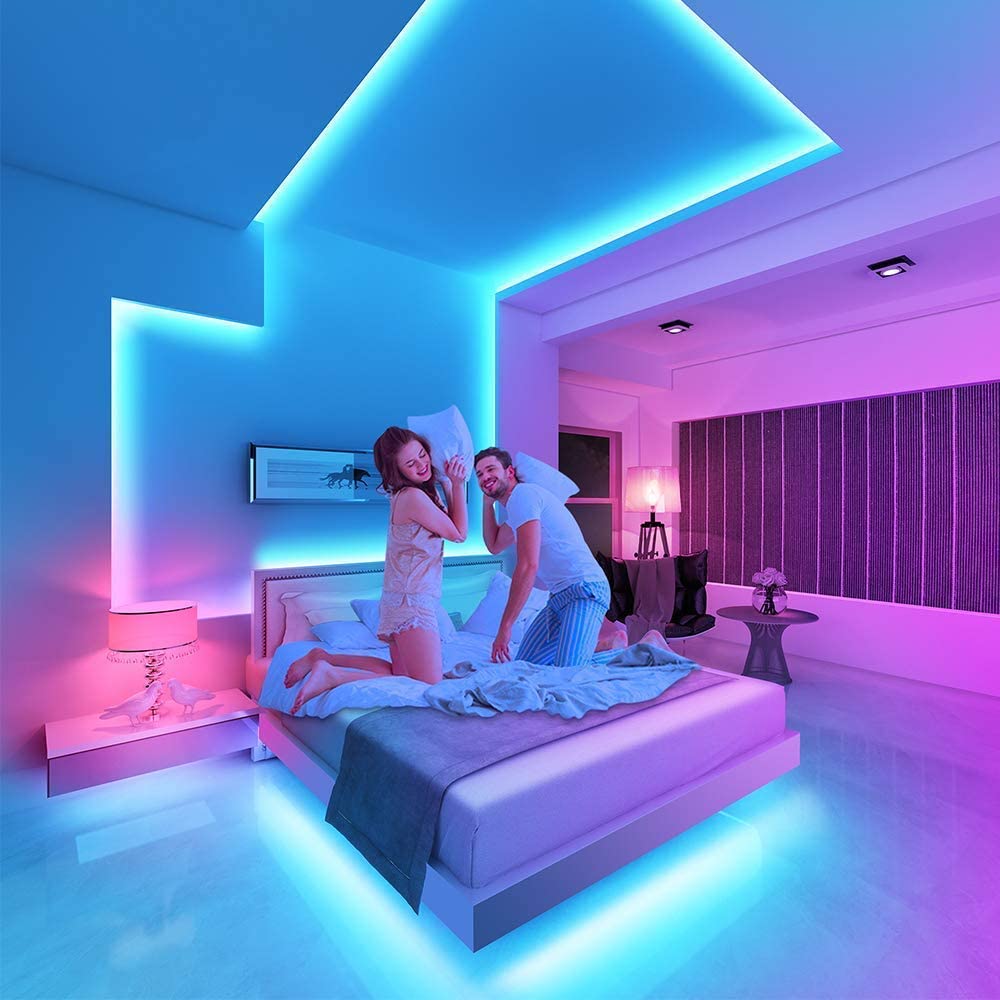
LED strip lights come in a wide range of lengths. You can choose a length based on the purpose of the lighting and the brightness you desire. You can use colored ambient lighting in bedrooms or relaxation areas, while clear, strong lighting is ideal for workbench spaces. Make sure you measure around the perimeter of the room, including corners, curves, and the power supply. This way, you can ensure you buy enough strips for the room.
Hiding
If you are looking for a way to conceal LED strip lights on your ceiling, you are in luck! There are a few simple steps you can take to hide these lights from view. First, choose the appropriate panel size. The number of panels will depend on how many bends you have in the wall. Next, measure the angle at each bend and determine how much tape you’ll need to cover each of them. Then, simply peel the tape back and insert the LED strip.
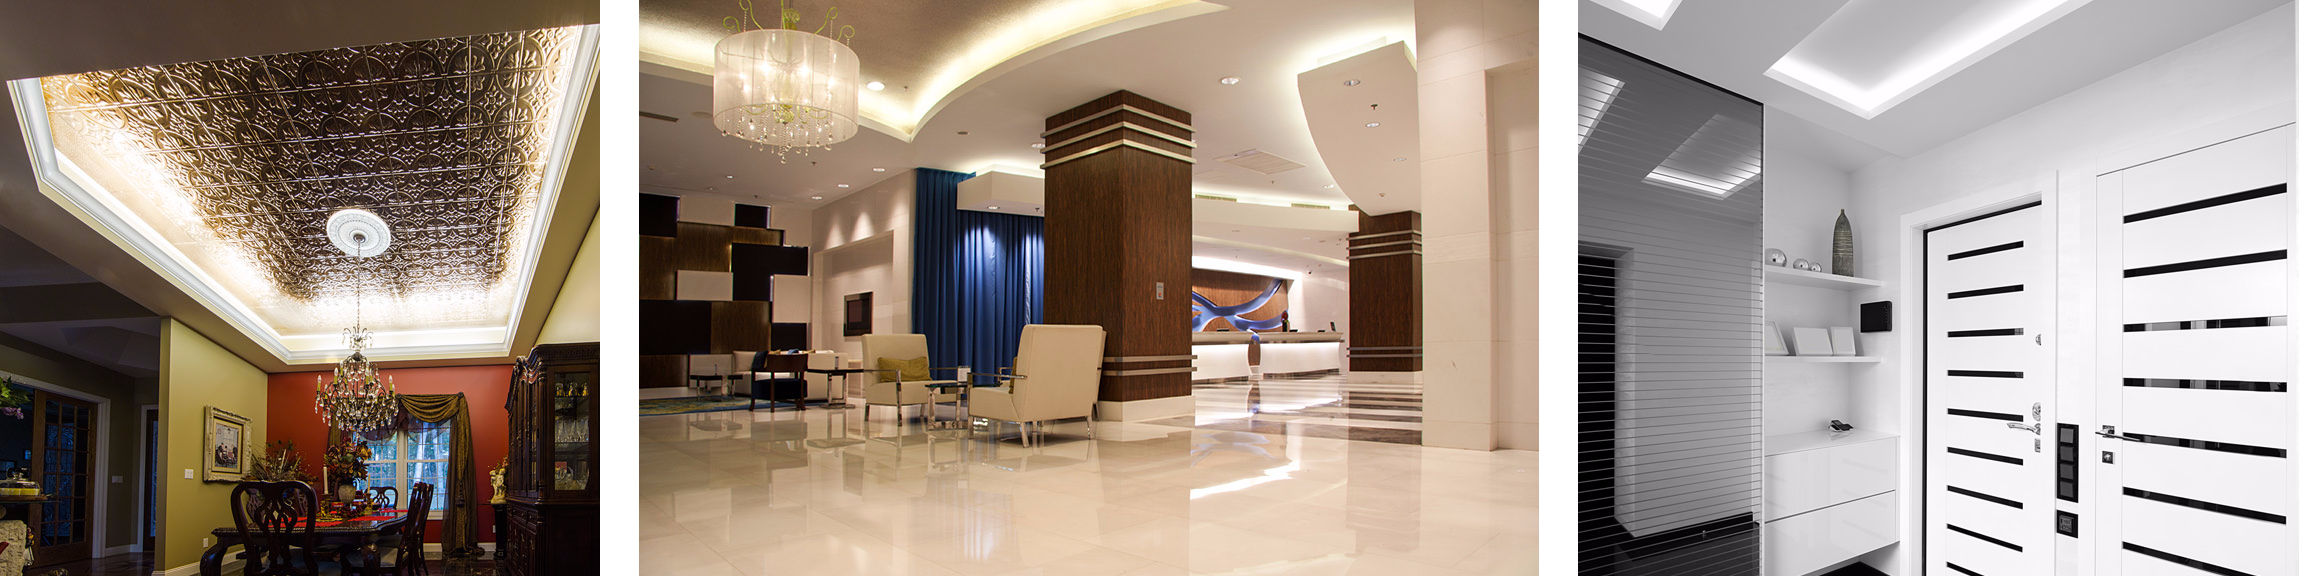
You can also use plastic molding or a wooden tray to hide the strips. To use this option, make sure the tray is the right size and pre-drilled to prevent accidental drilling. Then, mount the LED strip lights from two sides and secure them with a glue gun. If you’re unsure of your DIY skills, consider hiring a professional to do the job. If you’re going to be putting the strips in a high-traffic area, foam crown molding is a good option because it creates a beautiful accent lighting effect. It makes the ceiling appear higher as well.
Another option for hiding LED strip lights is to hide the wires beneath the strip. Panel end caps are inexpensive and can be purchased at any hardware store. They attach to the ceiling and are often used as cover panels. You can also cut them if the area you’re installing them in is too tight. Traditional wire trays are also great for hiding LED wires. But if you’re unsure of what to use for your particular situation, it’s worth experimenting with both of these solutions!
Aluminum coving
If you want to install LED strip lights on an aluminum coving, you have to follow some basic steps. First, cut the strip lights at the appropriate length and make sure they are not longer than the channel’s diameter. Then, use flux core solder to tin the exposed copper pads. Avoid touching fray wires and solder points. You can also cover exposed copper pads on the bottom of the strip light with heat shrink to prevent it from creating an electrical short in the aluminum channel. Lastly, install an end cap to prevent light leakage.
You can purchase LED strips on long reels. You will need to cut the adhesive cover to fit the channel’s dimensions. Once you have the strips cut to the desired length, you can mount them in ceiling areas. If you want to achieve a soft, even light effect, install them on an aluminum coving. You may also want to use a plastic diffuser to add to the lighting effect. After the strips are mounted, you can paint them to match the walls and ceiling.
LED strips are typically sold with adhesive backing. They can be cut to various lengths from five metre reels. The higher the LED density per metre, the more expensive they are. However, this option doesn’t produce the spotting effects common with a lower-quality light. Lastly, you have to decide on the type and power of LED strips. Make sure you select ones with an appropriate voltage rating.
Wireless controller
Before attempting to install LED strip lights on ceiling, you should test the color temperature, brightness, and controllers. LED strip lights should be installed onto well-prepared mounting surfaces. Surface preparation involves cleaning the area to be illuminated and removing any contaminates. The strips should also be connected to a power source. You can also purchase a wireless controller to automate the control of your lighting system.
Also Read: How to Cut LED Strips
To control the LED lights on ceiling with a wireless controller, you can install a WiFi-enabled RGBIC LED strip. To use this controller, download the Govee Home app on your phone and register the controller with your email address. The app provides advanced controls, such as enabling and disabling lights, changing patterns, and synchronizing to music. It is also possible to program the controller to run at specific times of the day or week.
LED light strips come in a variety of lengths. They typically range from one to 32 feet. Each one is designed for a particular purpose. You can buy one that is long enough to illuminate a large room or a narrow strip to accent a specific area. You should check the spacing of the strips to prevent nail pops. If you are unsure, you can use cheap clips to ensure proper installation.