You may have noticed that your LED lights are not the same color. The problem could be due to a variety of reasons. The bulbs may not be the right wattage, type, or color. To fix LED lights, you can purchase strips or LED controllers. If none of these work, replace the LED bulbs with a similar model. To replace one LED bulb with another, you must remove the existing bulb and install the new one.
Possible causes of malfunctioning LED lights
There are several reasons why LED lights stop working. The most common reasons are the driver, LED diodes, or capacitors. Those components may not receive enough electricity and have to be rerouted. If the bulbs are new, the cause may be a dying diode. But sometimes, a simple replacement can solve the problem. If you suspect the LED is not functioning properly, you should seek professional help.
Another common cause of LED lights is that the drivers are not compatible. If the driver is not compatible, the LED may not function properly. This can damage the light fixture’s semiconductor. Also, the wrong wattage can damage the LED. When there is too much heat, the LED will not work properly, and it will not operate correctly. If these problems persist, you should contact the manufacturer of the lighting fixtures.
Other common causes of LED lights that are different colors include poor wiring and improper voltage. While LEDs require a constant voltage to function, some may have the wrong connections or are soldered incorrectly. This can also occur if there is an incorrect resistor in the circuit. However, it is unlikely that the wiring alone can cause the problems. If you suspect a wiring issue, try replacing the LED strip or controller.
In rare cases, LED bulbs and strips can stop working. The LED units can last as long as 15,000 hours. It is unlikely to burn out the diodes or filament of the LED. If they have a good quality LED driver, these lights can last for several years. If, however, they suddenly stop working, consider the following possible causes:
Checking for short circuits
If your LED strip has multiple colors, you may want to check for short circuits. It may be the result of a soldering mistake. If this is the case, the positive and negative wires should be separated sufficiently. Also, multi-channel LED strips have six connection points each. You should use a multi-meter to test the circuit, as a short circuit is invisible, so you may not be able to detect it visually.
The power supply may also be faulty. During this step, you should ensure that the power supply is turned on, since some troubleshooting steps require power. If you are not a skilled electrician, you should get advice from qualified individuals. For example, if the strip is plugged into a mains voltage outlet, check if there is a power switch or circuit breaker.
A broken LED light string may be the result of a corroded or damaged LED or wire. A blown fuses may also be to blame for the problem. To fix a faulty LED, you will need to locate and repair the break. This can be more difficult than fixing an incandescent string because each LED changes the test signal and reduces the voltage overall.
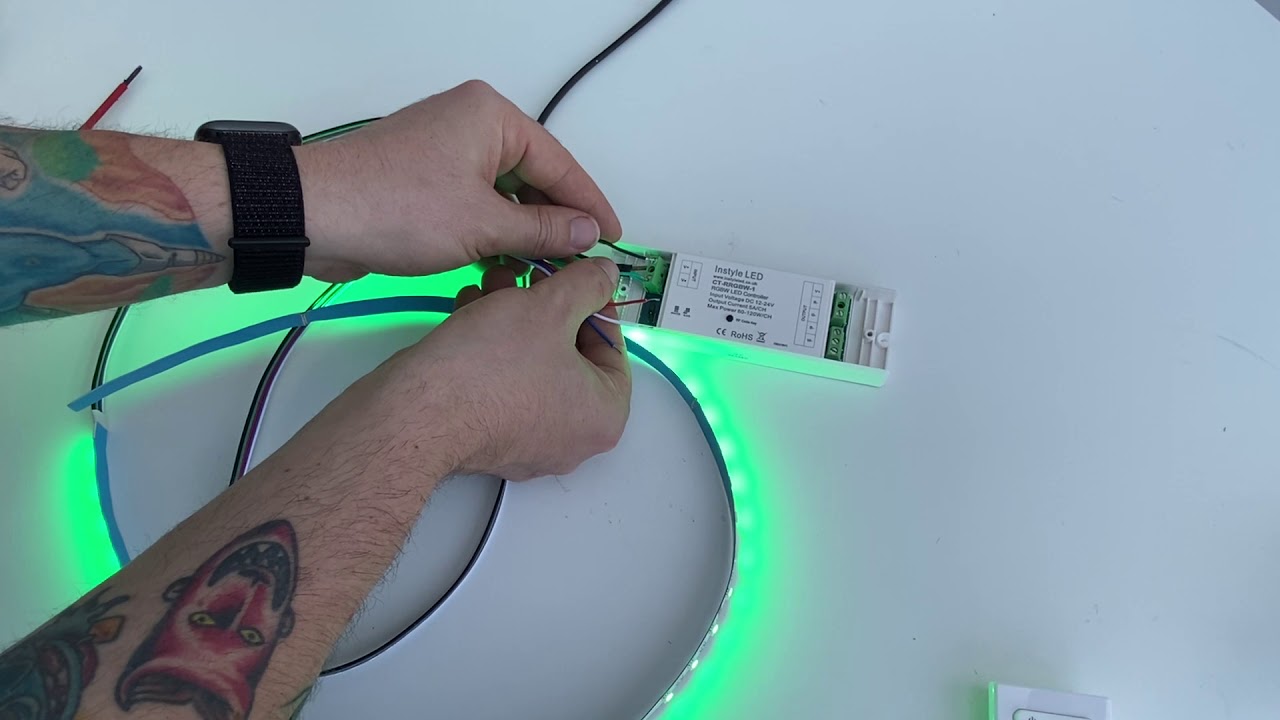
If you are unable to determine the source of the problem, consider replacing the LED strip or controller. A technician will be able to diagnose the issue and fix it accordingly. Different colors in LED lights may be the result of a bad connection in one of the LEDs, or an incorrect resistor in the circuit. By following these steps, you will be able to fix your LED strip or light.
Checking for paint on LED strip lights
LED strips can be affected by paint if you have recently painted them. Most people install LED strips before they paint, but they can still be affected by paint splashes. These paints can cause the strips to change color, or even become dim. If you notice that your LED strips have been painted, it is important to look at them carefully before attempting to repair them. You can also replace LED bulbs with new ones.
One thing to look for is the amount of white paint on the strips. LED strips with a low number of LEDs can overdrive the LED emitters and cause premature failure. Additionally, high-quality LED strips will have a white paint coat on the strips. This will increase their light output, but some lower-cost strips skip this step. This will affect the color and brightness of the LED lights.
If you notice any paint on your LED strip lights, you should carefully remove it. Paint has high heat-resistance properties, and you should avoid using oil-based paints on them. Also, don’t paint the bulbs with regular acrylic or oil-based paints. Regular acrylic and oil-based paints can cause a bulb to explode when lit. To prepare the bulb for paint, lightly sand it.
You can paint your LED lights to change the color of the strip for one special event, or you can paint them permanently. Nail polish remover is the perfect acetone formula for removing paint from glass surfaces. It removes tough materials like plasticizers, nitrocellulose, and synthetic resins. So, if you want to customize your strip lights to match your decor, you can go ahead and experiment with different colors!
Checking for overheating
LED strips can be damaged by excessive heat. When LED diodes reach an end-cycle temperature, they can no longer light up. To solve this problem, install multiple LED drivers and test the lights. Another possibility is that the strips have crossed wires. If you find such a case, contact the manufacturer for instructions. If the problem persists, you may need to replace the strip.
When fixing LED lights, make sure that there’s no overheating problem. Before replacing the bulbs, turn off the power at the breaker and remove the old fluorescent fixtures. Check all connections to see if you have a loose or damaged clip. If they are loose, they may be the source of the problem. If you notice any overheating, it’s time to replace them.
If the LED has burned out, you can easily find it by looking for a burnt spot or marks. You can also use a multimeter probe to check the functionality of the diode. You can then replace the LED with a new one. Remember that the new LED must have the same type as the old one. If you’ve opened the dissipator housing, it may need glue to close properly.
The power supply is another source of overheating. The power supply must match the load the LEDs are connected to. The power supply should be in a cool location. If the problem persists, you should consider replacing the power adapter with a certified EMC power supply. You should also look for loose wire connections to prevent future power disruptions. If the LED strips are still glowing after switching off the remote, the problem is likely to be the power supply itself.
Also Read: How to Connect Multiple LED Strip Lights Using a Smart Controller
Checking for yellowing
The lifespan of your LED lights may be affected by yellowing. When you first buy LED lights, check to see if they have yellowed. Yellowing is caused by phosphor in the light source, which converts blue light to white. In some cases, you may even notice that the lights have a yellow tint when they are off. Yellowing can also occur when LEDs are used in headlights. The best way to prevent LED lights from yellowing is to clean them regularly with a tooth paste containing peroxide or whitener.
You can avoid yellowing by choosing LED panel lights with light guide plates made of PMMA. The panel light with a laser dotted PMMA plate will not yellow after 6 years of use. Another option is the backlit LED panel lights, which do not contain light guide plates. Moisture-proof and waterproof panel lights are available in the market. This feature prevents water from staining the internal circuits.